Welcome to the Craftsman 1/2 HP Garage Door Opener manual, your guide to installing, operating, and maintaining this efficient and reliable residential garage door opener․ Designed for smooth operation and compatibility with various garage door types, this model ensures convenience and safety, meeting UL 325 standards․ Follow this manual for a seamless setup and optimal performance․
1․1 Overview of the Product
The Craftsman 1/2 HP Garage Door Opener is a reliable and efficient solution for residential use, offering smooth operation and compatibility with various garage door types․ Designed with a robust motor, it ensures quiet performance and durability․ This model is equipped with essential features for convenience, safety, and long-term reliability, meeting UL 325 standards for homeowner peace of mind․
1․2 Key Features and Benefits
The Craftsman 1/2 HP Garage Door Opener features a powerful yet quiet chain-driven motor, ensuring smooth and reliable operation․ It is compatible with various garage door types and includes advanced safety sensors․ Designed for convenience, this opener offers remote control functionality and a wall console for easy access and control, enhancing your garage experience․
1․3 Compatibility with Different Garage Door Types
The Craftsman 1/2 HP Garage Door Opener is designed to work seamlessly with various garage door types, including sectional, single-panel, and roller doors․ Its universal compatibility ensures easy installation and smooth operation across different door styles, making it a versatile choice for homeowners with diverse garage setups and needs․
Craftsman Garage Door Opener Models
Craftsman offers a range of garage door opener models, including popular options like the CMXEOCG472 and CMXEOCG771, each designed with unique features and specifications to meet different user needs and preferences․
2․1 Popular Models and Their Specifications
Popular models include the CMXEOCG472, CMXEOCG771, and CMXEOCG471, each offering 1/2 HP motors․ These models feature chain or belt drives, compatibility with various door types, and smart technology integration․ The CMXEOCG771 is known for its reliability, while the CMXEOCG472 includes LED lighting for enhanced visibility, ensuring robust performance and user convenience․
2․2 Model Numbers and Unique Features
Model numbers like CMXEOCG472, CMXEOCG771, and CMXEOCG471 offer distinct features․ The CMXEOCG472 includes LED lighting, while the CMXEOCG771 is known for its smart technology integration․ Each model provides unique benefits, such as enhanced security, quiet operation, or advanced control options, catering to different user preferences and garage door requirements․
2․3 Identifying Your Model Number
Your Craftsman 1/2 HP Garage Door Opener model number is located on the product label or in the manual․ Models like CMXEOCG472 or 1021499A are printed on the motor housing or packaging․ This number is essential for ordering parts, troubleshooting, and ensuring compatibility with accessories, so keep it handy for future reference․
Installation Guide
Start by securing the header bracket to structural supports above the garage door․ Install safety sensors 6 inches from the floor on both sides․ Attach the door arm to the trolley and ensure the door is fully closed before testing․ Follow manual instructions carefully for a safe setup․
3․1 Pre-Installation Checks
Before starting, read the entire manual and ensure all parts are included․ Verify the header bracket location is structurally secure․ Check the garage door balance and ensure it’s unlocked․ Confirm the door type compatibility and clear the area of obstructions for safe installation․ Ensure power is off during setup․
3․2 Step-by-Step Installation Instructions
Assemble the rail and attach the trolley․ Mount the motor on the ceiling, ensuring it’s level․ Install the safety sensors 6 inches from the floor on both sides․ Attach the door arm to the trolley and garage door․ Connect the wires to the motor and wall console․ Test the opener to ensure smooth operation․
3․3 Tightening the Chain and Final Adjustments
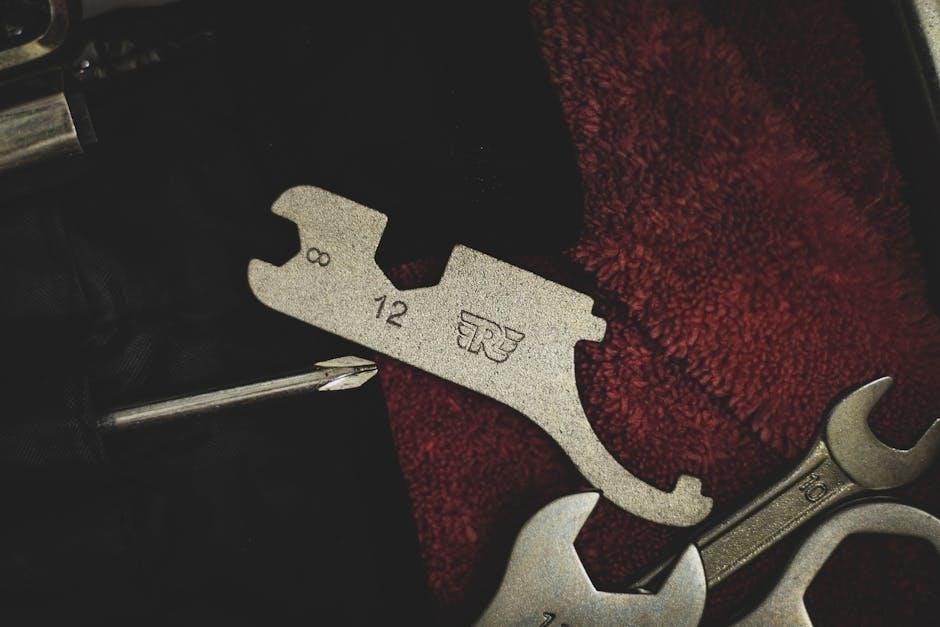
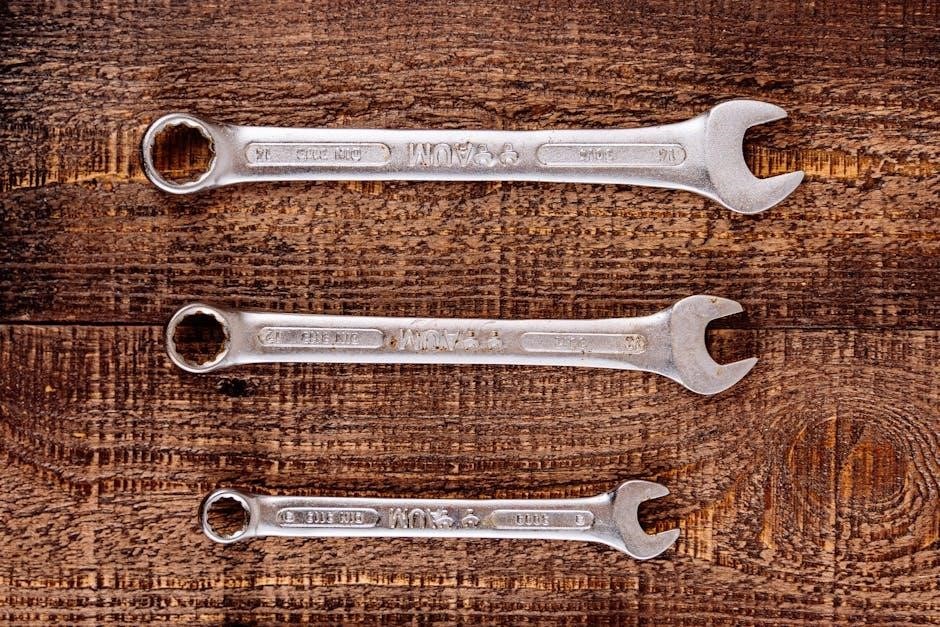
Tighten the chain gradually, ensuring it’s not overly taut․ Adjust the travel limits to ensure the door opens and closes fully․ Fine-tune the door balance by loosening or tightening the spring․ Refer to page 12 for detailed instructions on final adjustments to ensure smooth and safe operation․
Adjusting the Garage Door Opener
Adjust the chain tension and travel limits for smooth operation․ Fine-tune the door balance to ensure proper alignment․ Refer to page 12 for detailed adjustment instructions to optimize performance․
4․1 Adjusting the Chain Tension
For optimal performance, ensure the garage door is fully closed before adjusting the chain tension․ Locate the tension bolts, typically found on the opener’s side or near the chain․ To tighten, turn the bolts clockwise; to loosen, turn counterclockwise․ Avoid over-tightening to prevent excessive force, which could be dangerous․ After adjustments, test the door for smooth operation․ Refer to page 12 for detailed guidance to ensure safety and proper alignment․ Regular checks and slight adjustments can maintain your opener’s efficiency and extend its lifespan․
4․2 Setting the Travel Limits
To set the travel limits for your Craftsman 1/2 HP garage door opener, begin by ensuring the door is fully closed․ Locate the adjustment screws labeled “up” and “down” on the opener․ Turn the screws clockwise to decrease the travel distance or counterclockwise to increase it․ After each adjustment, test the door to ensure smooth operation․ For precise settings, refer to page 12 in the manual, which provides detailed guidance for determining the correct positions․ Properly set travel limits ensure the door opens and closes safely and efficiently, preventing any potential hazards or improper alignment․ Regular checks and slight adjustments can maintain your opener’s performance and extend its lifespan․
4․3 Fine-Tuning the Door Balance
For optimal performance, ensure the garage door is balanced correctly․ Disconnect the opener and manually open the door halfway to check its alignment․ If it drifts or sags, adjust the springs or cables to restore balance․ Tighten any loose hardware and test the door’s movement․ Proper balance ensures smooth operation and prevents strain on the opener․ Always refer to safety guidelines on page 12 before making adjustments․

Maintenance and Care
Regularly lubricate moving parts, inspect hardware for wear, and tighten loose components․ Ensure safety sensors function properly and refer to the manual for detailed maintenance schedules and tips․
5․1 Regular Maintenance Tasks
Perform routine checks on the chain tension, springs, and rollers․ Lubricate all moving parts quarterly with silicone-based spray․ Clean sensors and ensure proper alignment․ Inspect the rail for debris and tighten any loose fasteners to maintain smooth operation and prevent wear․
5․2 Lubricating Moving Parts
Use a silicone-based spray lubricant on the chain, rollers, and springs every 3-6 months․ Avoid lubricating the rail or sensors․ Apply a small amount to moving components and wipe off any excess with a cloth․ Refer to your manual for specific lubrication points to ensure smooth and quiet operation․
5․3 Checking and Replacing Worn Parts
Regularly inspect the chain, rollers, and springs for wear, rust, or damage․ Replace worn or damaged parts immediately to prevent malfunctions․ Order genuine Craftsman replacement parts from Sears Parts Direct or authorized dealers․ Always follow safety guidelines when replacing parts to avoid injury or further damage․
Troubleshooting Common Issues
Troubleshoot issues like uneven closing, strange noises, or unresponsive remotes․ Check sensor alignment, chain tension, and power sources․ Refer to the manual for detailed diagnostic steps and solutions to ensure proper functionality and safety․
6․1 The Door Won’t Close Properly
If the door won’t close properly, check for obstructions and ensure sensors are aligned․ Verify the chain tension and travel limits are correctly set․ Refer to page 12 of the manual for adjustment instructions․ Ensure the header bracket is securely fastened and the door arm is properly connected to the trolley․
6․2 The Remote Control Isn’t Working
If the remote control isn’t functioning, check the batteries and ensure they are installed correctly․ Reprogram the remote by following the instructions in the manual․ Verify that the remote is compatible with your garage door opener model․ Consult page 3 for additional troubleshooting steps․
6․3 Strange Noises During Operation
Strange noises during operation may indicate loose components or lack of lubrication․ Check for tightness of the chain or belt and ensure proper alignment․ Lubricate moving parts as outlined in the manual․ If noises persist, stop operation and consult the troubleshooting section for further guidance․
Safety Precautions and Regulations
Ensure compliance with UL 325 standards․ Read and secure the manual near the garage door after installation․ Regularly inspect the opener to maintain safe operation․
7․1 Important Safety Rules
Always follow safety rules to ensure safe operation․ Disable door locks before installation․ Operate only at 120V, 60Hz․ Secure the header bracket to structural supports․ Periodically inspect the opener and keep the manual accessible for reference․ Ensure the door is fully closed before connecting components․
7․2 Compliance with UL 325 Standards
The Craftsman 1/2 HP Garage Door Opener complies with UL 325 standards, ensuring safe operation and reliability․ Features like proper force and reversal mechanisms are designed to prevent accidents․ This compliance guarantees the opener meets rigorous safety requirements for residential use, providing peace of mind for homeowners․
7․3 Securing the Manual for Future Reference
After installation, fasten the manual near the garage door for easy access․ This ensures safety precautions, operating instructions, and warranty details are readily available for future reference or emergencies․ Periodic reviews of the manual help maintain proper operation and compliance with safety standards․
Remote Control and Wall Console
The remote control and wall console provide convenient operation of your Craftsman garage door opener․ They offer easy access and control, ensuring smooth and secure door operation from anywhere in your garage․
8․1 Programming the Remote Control
Programming the remote control for your Craftsman 1/2 HP garage door opener involves syncing it with the wall console․ Press and hold the remote button while ensuring the door is closed․ Follow the manual’s step-by-step instructions to complete the process․ Ensure the remote is properly synced for reliable operation․
8․2 Understanding the Wall Console Features
The wall console of your Craftsman 1/2 HP garage door opener includes essential controls for operation, such as the light button and door activation․ It may also feature adjustable settings for travel limits and force sensitivity․ Always refer to the manual for specific instructions on utilizing these features effectively․
8․3 Troubleshooting Remote Issues
If your remote isn’t working, check the battery connections and ensure they’re clean․ Reprogram the remote by pressing the learn button and holding the remote control button; If issues persist, consult the manual for reset procedures or contact customer support for further assistance․
Warranty Information
The Craftsman 1/2 HP Garage Door Opener is backed by a limited warranty covering the motor and parts․ For details on coverage, conditions, and how to file a claim, refer to the manual or contact customer support․
9․1 Overview of the Warranty Coverage
The Craftsman 1/2 HP Garage Door Opener warranty covers the motor for up to 10 years and parts for 5 years․ It ensures defect-free materials and workmanship under normal use․ Coverage excludes misuse, wear, and tear, providing peace of mind for reliable performance and long-term durability․
9․2 Conditions and Exclusions
The warranty excludes damage from misuse, improper installation, or normal wear and tear․ Labor costs for repairs after the first year are not covered․ The warranty is void if the product is modified or used in commercial settings․ Refer to the manual for full terms and conditions․
9․3 How to File a Warranty Claim
To file a warranty claim, review the manual for eligibility․ Contact Sears Parts Direct or Craftsman customer service with proof of purchase and model number․ Authorized technicians will handle repairs․ Unauthorized modifications or non-compliance with manual instructions may void coverage․
Accessing the Manual and Additional Resources
The Craftsman 1/2 HP Garage Door Opener manual is easily downloadable from trusted sites like ManualsLib or Sears Parts Direct․ Visit these platforms, search for your model number, and follow the download instructions․ For additional support, contact customer service for assistance․
10․1 Downloading the Manual
To download the Craftsman 1/2 HP Garage Door Opener manual, visit trusted platforms like ManualsLib or Sears Parts Direct․ Search for your specific model number, follow the download instructions, and access the PDF guide for detailed installation, troubleshooting, and maintenance instructions․
10․2 Online Resources and Support
Visit Craftsman and Sears Parts Direct websites for comprehensive support․ Access FAQs, troubleshooting guides, and part diagrams․ Contact customer service at 1-309-603-4777 for assistance․ These resources ensure you can resolve issues efficiently and maintain your garage door opener effectively․
10․3 Contacting Customer Service
For assistance, contact Sears Parts Direct at 1-309-603-4777 or visit their website․ They provide parts, manuals, and troubleshooting guides․ Ensure the manual is fastened near the garage door for easy reference, as per safety instructions in the manual․

Advanced Features and Upgrades
The Craftsman 1/2 HP Garage Door Opener supports smart technology integration, enabling remote control via smartphones․ Battery backup systems ensure operation during power outages, and upgrading to advanced models enhances functionality and performance for modern convenience․
11․1 Smart Technology Integration
Enhance your garage door opener with smart technology, allowing remote monitoring and control via compatible smartphones․ This integration offers real-time notifications, customizable settings, and voice command compatibility through platforms like Amazon Alexa or Google Assistant, ensuring convenience and modern efficiency for your Craftsman opener․
11․2 Battery Backup Systems
A battery backup system ensures your garage door opener operates during power outages, providing uninterrupted access and security․ This feature enhances reliability, allowing manual or automatic operation when electricity fails․ It’s a convenient and safe solution for homeowners, compatible with Craftsman models and designed to meet UL 325 standards for optimal performance․
11․3 Upgrading Your Garage Door Opener
Upgrading your Craftsman 1/2 HP garage door opener enhances performance and integrates modern features like smart technology․ Ensure compatibility with your model, such as CMXEOCG472 or CMXEOCG771, and follow manual instructions for seamless installation․ Upgrading boosts security, convenience, and efficiency, keeping your system up-to-date with the latest innovations and safety standards for optimal functionality․
Frequently Asked Questions (FAQs)
Find answers to common questions about the Craftsman 1/2 HP Garage Door Opener, including installation, maintenance, and troubleshooting․ Download the manual for model-specific guidance and compatibility details․
12․1 Common Questions About Installation
Installation questions often focus on header bracket placement, door arm alignment, and safety sensor setup․ Ensure the header bracket is securely fastened to structural supports, and follow step-by-step instructions for proper assembly․ Refer to page 12 in the manual for detailed guidance and safety precautions during the installation process to avoid potential issues and ensure smooth operation․
12․3 General Inquiries About the Product
12․2 Questions About Maintenance and Repair
Common maintenance questions involve lubricating moving parts and checking chain tension․ Regularly inspect rollers, springs, and cables for wear; Tighten loose screws and ensure proper door alignment․ Lubricate hinges and rollers annually for smooth operation․ Replace worn parts promptly to prevent further damage and ensure safe, efficient functionality of your garage door opener․